
Three Typical Defects in Metal Ultrasonic Welding
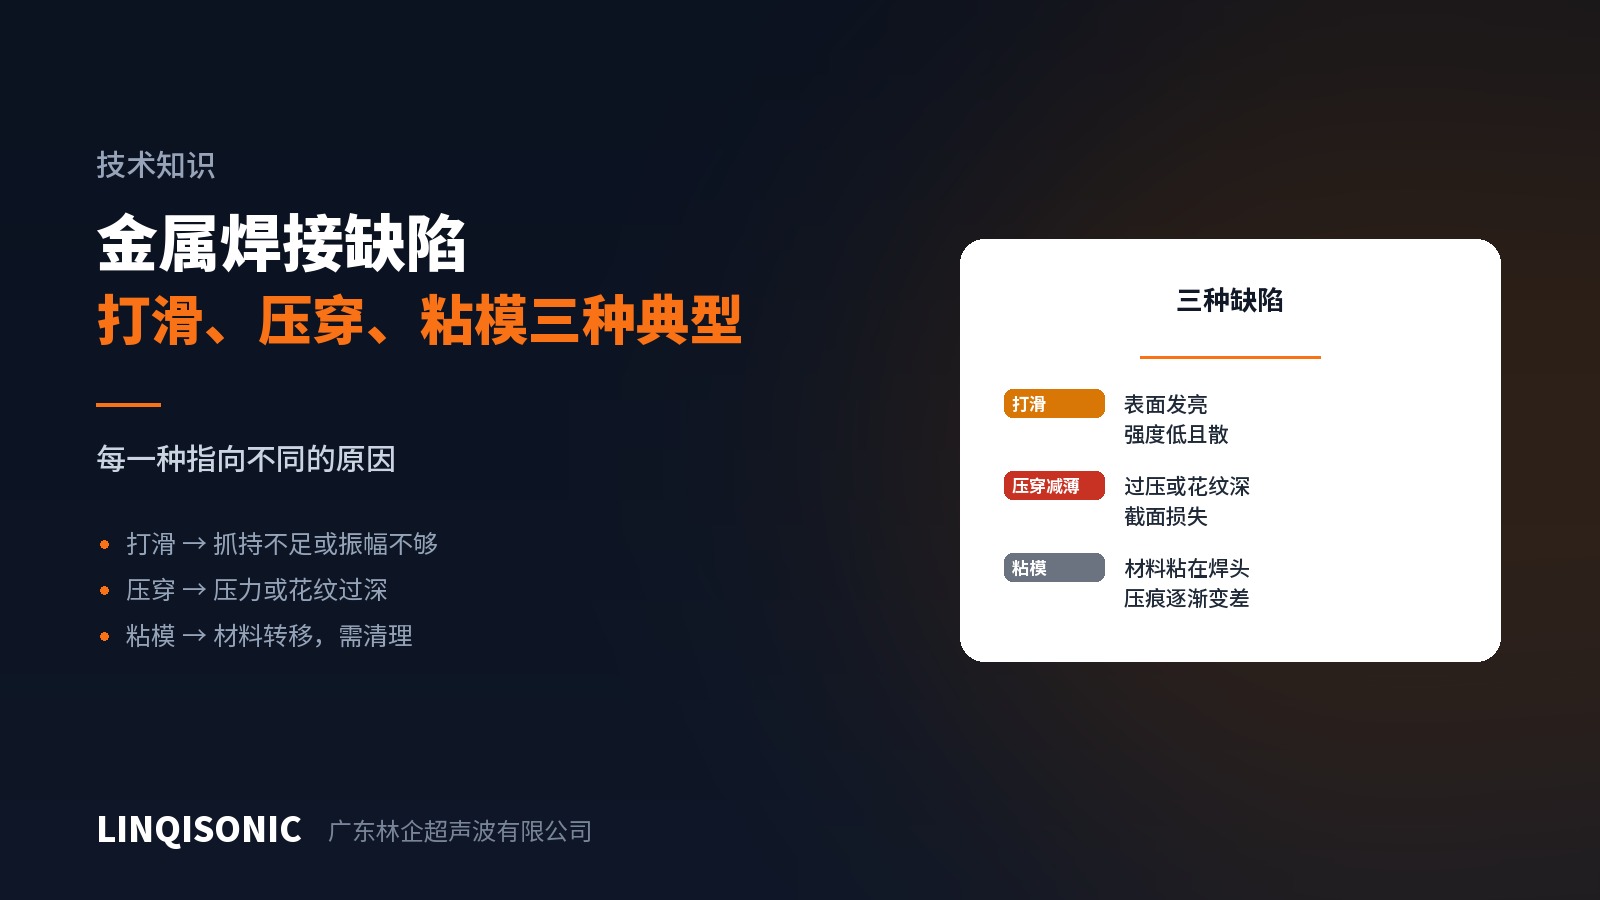
Unlike plastic welding, most metal welding defects are visible on the surface of the part. Recognise the signature and the direction is clear.
1. Slipping
Signature: bright polished wear on the surface, a blurred or only partially formed impression, weld strength both low and widely scattered, and a horn that runs hot.
Cause: shear is not reaching the work, and energy is being spent between horn and workpiece.
Specific sources include knurl wear (most common), insufficient force (no grip), insufficient amplitude (cannot drive it), oil or coating on the surface, and inadequate anvil grip letting the lower part move with the upper.
Order of investigation: impression clarity from the tooling first, then force and surface cleanliness, and amplitude last. Most slipping is solved at step one.
2. Crush-through and thinning
Signature: an excessively deep impression, thin material pierced, conductor section visibly thinned with resistance rising, and material extruded around the weld.
Cause: excessive force, a knurl too deep for the material, excess energy driving too much plastic flow, or too long a cycle.
Remedy: reduce force, check knurl depth against material thickness, shorten time. Note that this is the opposite direction from slipping — one needs less force and the other more — so the diagnosis has to be right first.
Signs of both at once mean force sits awkwardly or is unevenly distributed; check parallelism and tooling condition rather than continuing to experiment with force.
3. Material pick-up
Signature: workpiece material transferred and adhering to the knurl on horn or anvil, aluminium especially. As it builds, the pattern fills, impressions deteriorate, and the symptom eventually becomes slipping.
Cause: the process works by bringing fresh metal into direct contact to bond — and the same thing happening between work and tooling is pick-up. Soft metals, excess energy and inadequate tooling surface treatment all aggravate it.
Remedy: clean the grooves on a schedule with a soft brush and suitable cleaner without scratching the faces, reduce energy where possible, and treat tooling surfaces to resist adhesion.
Pick-up is a scheduled cleaning item, not something to address once it causes trouble. Its danger lies in being invisible early; by the time weld quality suffers, a good many parts have passed.
Locating a problem quickly
Take one bad part and look at three things:
The impression on the part — crisp means grip is fine; blurred or bright means slipping; excessively deep points to force or knurl depth.
The tooling pattern — worn? material adhering? grooves packed?
The section — a continuous bond zone means the process is sound and the cause lies elsewhere; a patchy zone points to force or parallelism.
Prevention beats correction
All three share one trait: they develop gradually rather than appearing overnight. Daily practice is therefore the most effective response — check impressions each shift, clean the pattern on schedule, log cumulative counts, and replace tooling by count.
Add process monitoring: limits on energy, power and post-weld height. Both slipping and crush-through leave characteristic traces in the data and can be caught before defects run in quantity.
Monitoring capability and tooling options by machine are on the ultrasonic welding machine pages. Send impression photographs, sections and process data to 1427498429@qq.com, or call +86 769 8202 9510 / +86 137 6001 0932.